Tips for spooky travel photos
By Kristan Lawson
You’ve seen ghosts. You may not even believe in ghosts, but you’ve seen them.
Not with your own eyes: few people are that lucky (or unlucky, some might say). No, you’ve seen ghosts in photographs, because “ghost pictures” are published and republished so often that it’s hard to avoid them.
Every trip can be a “ghost hunting trip,” no matter where you go, once you learn some basic techniques for capturing paranormal phenomena on camera.
A little background on “spirit photography”
The fad for ghostly photos started soon after photography was invented; members of the Victorian-era Spiritualist movement wanted to prove that their belief in the afterlife was a scientific fact, and so offered up as evidence accidental photos of what appeared to be ghostly figures hovering in the background of otherwise normal scenes.
The first few photos caused such a stir that success became their downfall: by the end of the 19th century, faking ghost photos was booming business, and the fakes grew so obvious that ghost photos — and the movement associated with them — fell from popularity.
Fast forward a hundred years and reality TV has re-energized “spirit photography,” as it was once called (nowadays the term “paranormal evidence” is more trendy). Every night the cable networks are overpopulated with professional ghost hunters pelting down hallways and breathlessly exclaiming “Did you hear that???” as they try to capture evidence of the supernatural, using their video and still cameras.
The best of these images still makes the rounds to this day — and not just snapshots from reality shows, but inexplicable imagery captured by amateur paranormal hunters on ghost adventures of their own.
So, with Halloween looming soon, the question arises:
How do they do it? How can I take ghostly photos?
This article will teach you how. And better yet, I’ll show you how to snap spooky-looking photos, which to be honest are a lot more fun and picturesque than actual (or at least purported) paranormal shots, which often look like nothing special to the untrained eye.
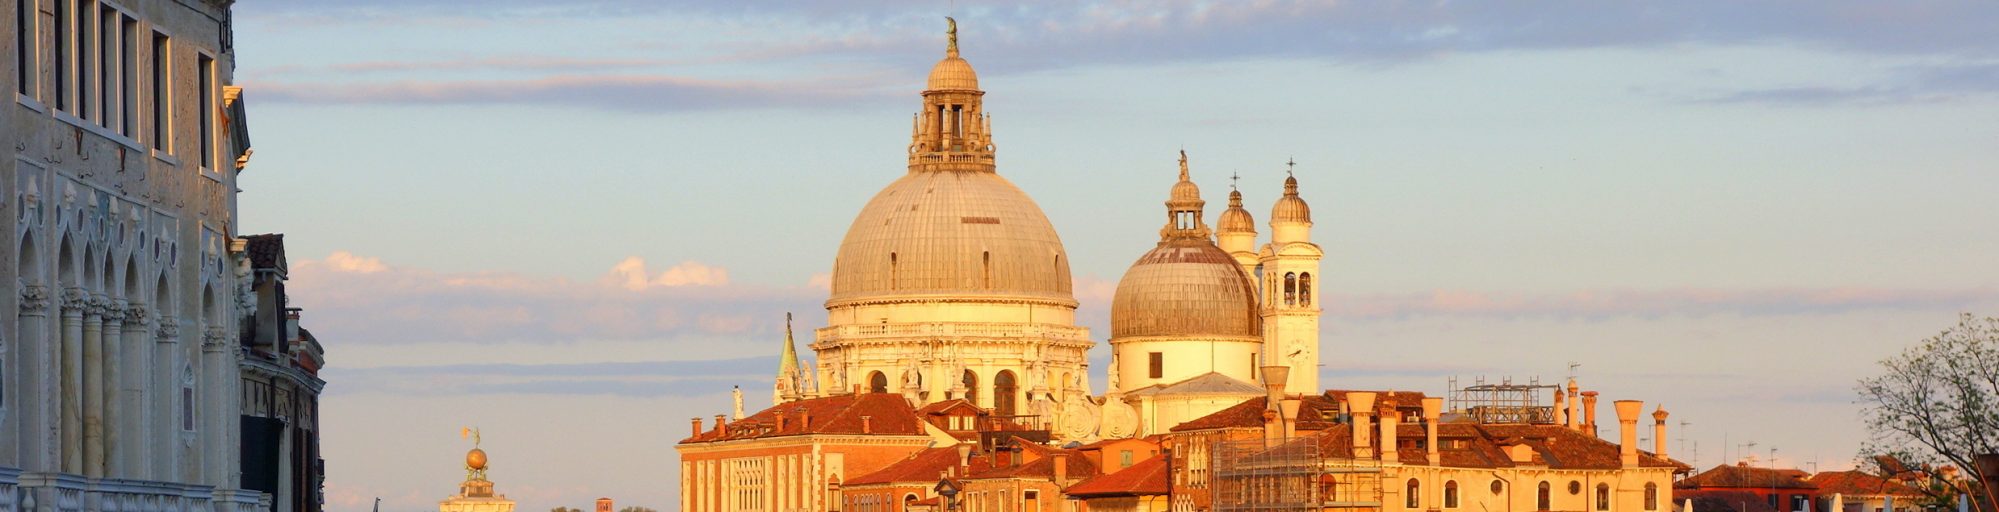
Each brief lesson below is illustrated by an example photograph I took during a recent ghost-hunting excursion to Virginia City, Nevada, a perfectly preserved (and entirely authentic) 19th-century Wild West town a few miles south of Reno — and famous as one of the most haunted towns in the United States. Virginia City is prime ghost-hunting territory, but in truth you don’t need to go to a legendary “haunted” town or building in order to start capturing spirit photographs. Whatever trip you’re on, wherever you go, I guarantee there will be unseen ghosts flitting about — unseen until you manage to capture them in a snapshot, that is!
Lesson 1: Put yourself in spooky situations.
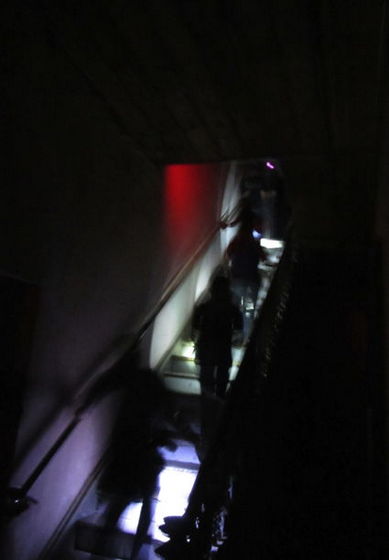
You may not necessarily get any authentic “ghost photos” with this technique, but if you purposely go out of your way to insert yourself into spooky-looking places, you’re much more likely to capture photos that are eerie, macabre, or atmospheric. During your travels: Encounter a dark hallway? An empty room full of old furniture? A creepy courtyard? Go for it! This photo shows a group of ghost hunters ascending a creaky old staircase in Virginia City’s Washoe Club. I didn’t capture a ghost, but you can still feel the ghostly vibe from the photo anyway.
Lesson 2: Those blurry vague blobs ruining your photo? Those are good!
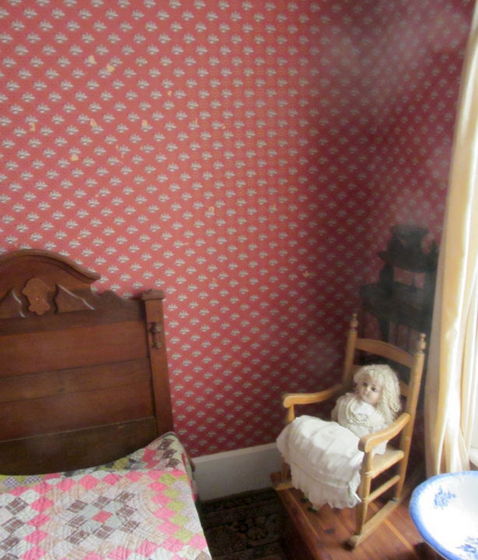
There’s a dark secret about contemporary “ghost photos”: unlike the too-obvious ghosts in Victorian-era pictures, the new breed of ghost photos almost never show anything as cliché as a Halloween-style human-shaped spook. When I showed this photo to various self-styled paranormal investigators, they were amazed, jealous, congratulatory: all agreed that I had definitely captured some kind of spirit or paranormal entity floating near the window. Of course, their opinions were influenced by the knowledge that the photo was taken in a supposedly “haunted” children’s room in Virginia City’s Mackay Mansion. I had thought that the wispy blobs were merely some kind of glare coming from the window, but was informed that mere “glare” as an explanation was optically impossible. So: If, during your travels, you find yourself somewhere “haunted,” simply take a lot of digital photographs, even if you don’t see anything with the naked eye. Later, when browsing through the pictures, look for anything out of the ordinary. You may have captured something paranormal without even realizing it.
Lesson 3: Keep a photographer’s eye out for not just beautiful vignettes, but ominous scenes as well.
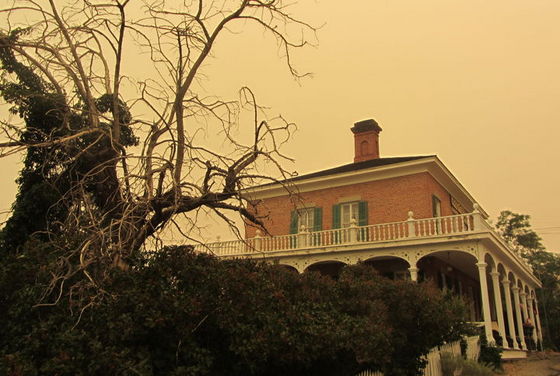
Most people, when out traveling with a camera in hand, naturally look for something nice to photograph. Which is fine. But if you want to return from your trip with some spooky photos as well, always be on the lookout for any ominous or disquieting scenes that might crop up unexpectedly. This picture, for example, shows a dead tree outside the same Mackay Mansion, on a day when a nearby forest fire turned the sky orange. It doesn’t feature a ghost, but it at least looks like a scene from a horror film.
Lesson 4: Sit in a dark room and take a picture of nothing.
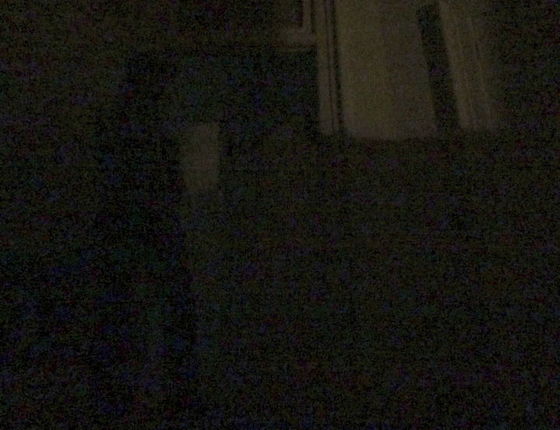
Look carefully at the photo above. An all-black room? Look again, tilting your screen or squinting. You may begin to make out the “shadow” of a human figure on the left side of the image. Why is that strange? Here’s why: I was all alone, in a completely dark room in the Washoe Club, with my back against the wall. One paranormal investigator told me this was the “best” ghost photo he’d ever seen. How could there be a shadow on an already-dark wall if there was no light-source (or human body) to cast the shadow? So: In completely dark rooms, either use a tripod or balance your camera on something sturdy, and try taking some looooong-exposure shots of the darkness. You never know what might crop up!
Lesson 5: Experiment with your camera’s settings to create sinister effects.
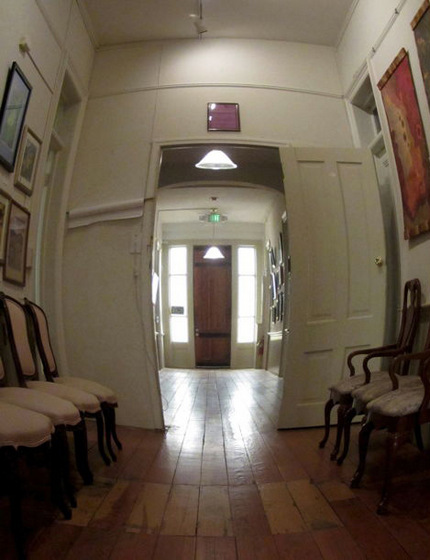
Most digital cameras these days — even basic models — have various built-in special “scene settings” which many people never use. Since you’ll want to cover all bases and at least take some ghostly photos on your trip in case you don’t capture any actual ghosts, try experimenting with the various rarely used settings and filters that your camera has to offer. Some of them can turn an otherwise pedestrian photo into an image that will give viewers the chills. This picture, for example, employs the “fish-eye lens” filter on my cheap pocket camera to transform a unremarkable hallway into a scene from a nightmare.
Lesson 6: The “red-eye effect” is your friend.
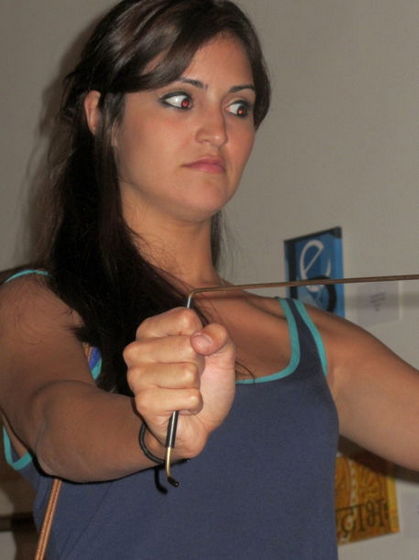
When you take a flash photo of anyone indoors, you’re likely to encounter the annoying “red-eye effect,” which is caused by the flash reflecting off the retina at the back of eye. While most of the time you might think that the red-effect effect “ruins” an otherwise perfectly good photo, when you’re trying to capture “creepy” images, then the red-eye effect is actually helpful — because it makes people look like they’re possessed by evil. In this photo, one of the ghost tour participants was trying out some dowsing rods in Virginia City’s haunted St. Mary’s Art Center. The look of apprehension combined with the red-eye effect transformed a random snapshot into a memorable moment.
Lesson 7: “Orbs”: Supernatural, or just dust?

When you take flash photos in old rooms (the kind of rooms rumored to have ghosts, usually), you might later notice in your pictures what the true believers call “orbs”: glowing balls of light floating around the room. Now, my skeptical common sense tells me that these “orbs” must simply be nothing but dust motes reflecting the flash back at the camera. But some paranormal enthusiasts get really excited at seeing orbs in photos taken in “haunted” buildings, deeming them to be nodules of energy which indicate the presence of supernatural entities. So: if you’re not as skeptical as I am, keep an eye out for any “orbs” (such as the ones visible in the photo above) in your photos. You may have captured a proto-ghost without even realizing it.
Follow these ghostly photo lessons on Halloween — or any time of year, really — to transform every trip into a ghost-hunting adventure.
Photos courtesy of Kristan Lawson.
About the author:
Kristan Lawson is an author and photographer who lives in the San Francisco Bay Area. He is also co-author of several travel guidebooks. Previously on TWS, Kristan offered us his Packing Tips for the 21st Century.
This is fabulous!! What a great list of ideas for taking perfectly horrifying and ominous photos!! Keep up the great work!!
I wouldn’t have come up with half of these ideas. I love the red eye and fish eye lens effect.
I’ve got quite a few pictures with red eyes but always photoshop them 🙂 Now, I know better. Love all these ideas and will start a collection for next year. I can’t wait to try them out especially the fish eye lens. Some of these pictures gave me the chills.
I’ve always been a master of the red-eye effect but I love having all these ghostly ideas to add to my repertoire!
This was fantastic, Cathy! Nice shout out to Kristan as I loved all the tricks that I can learn with my own camera 🙂
Those are some freaky pics – and a whole lot of awesomesauce. 🙂
I had a fish-eye lens a long time ago and decided to experiment with it round Christmas time. I still have some of the distorted images. I like the idea of sitting in the dark and taking a photo of nothing…great post, Kristan!
I’ve had some orbs show up in people’s photos at my brother’s funeral and they swear a result of the supernatural. However, having thought about it and looking through a lot of photos, I’ve determined it was a reflection of the numerous round light above the coffin. Though I’d love it if it were supernatural. They do make great photo effect, however. Excellent advice.
These are really great ideas for taking spooky photos! They could pass for real ghosts!
Fun ideas to give your photos a spooky feel!
I think that your ideas really make for creepy photos. The picture with the doll in the room is my favorite.